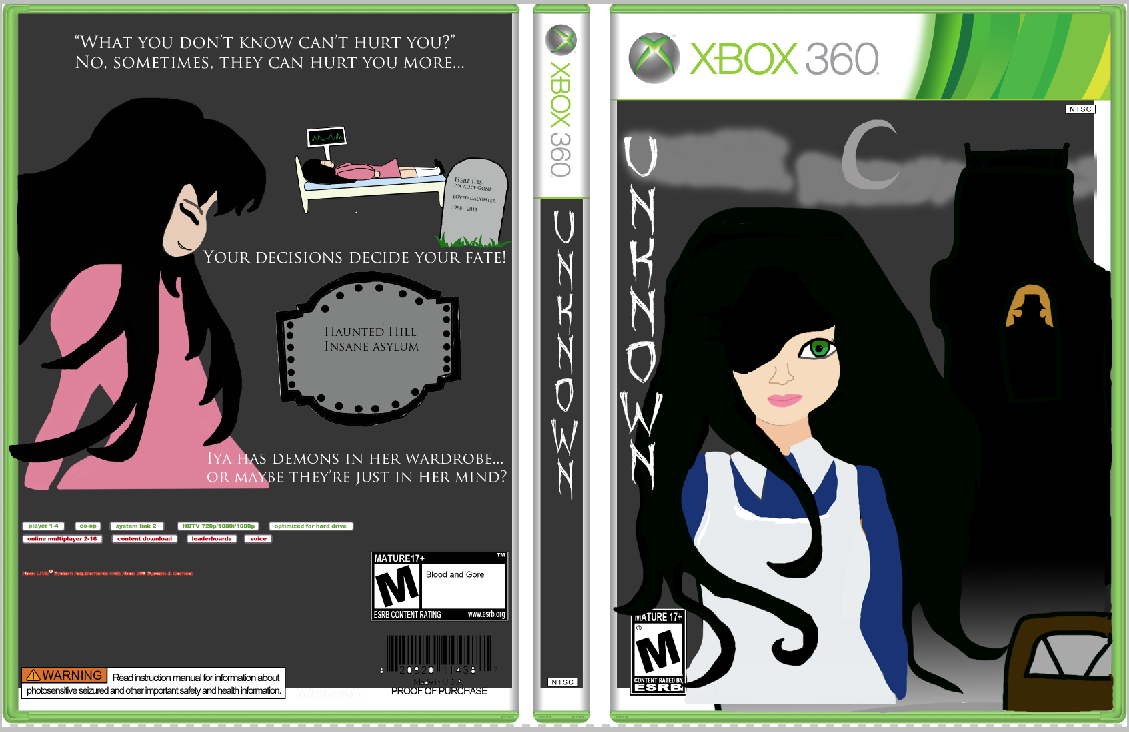
Final game case

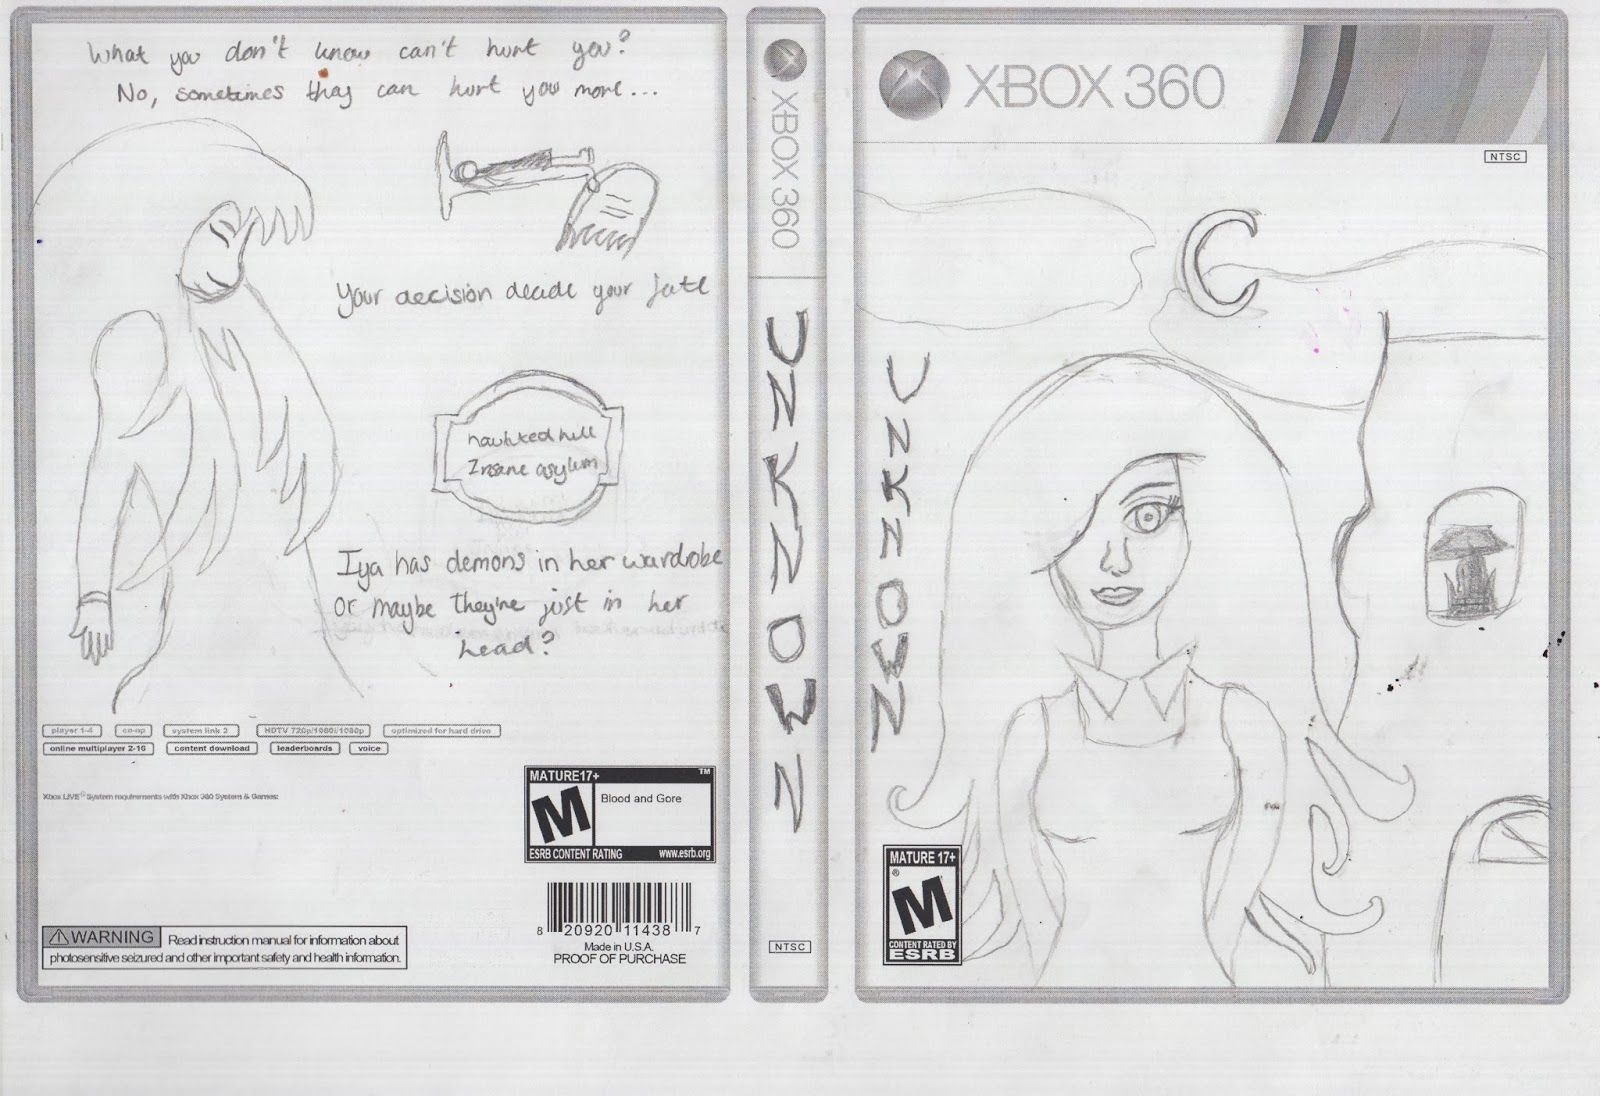
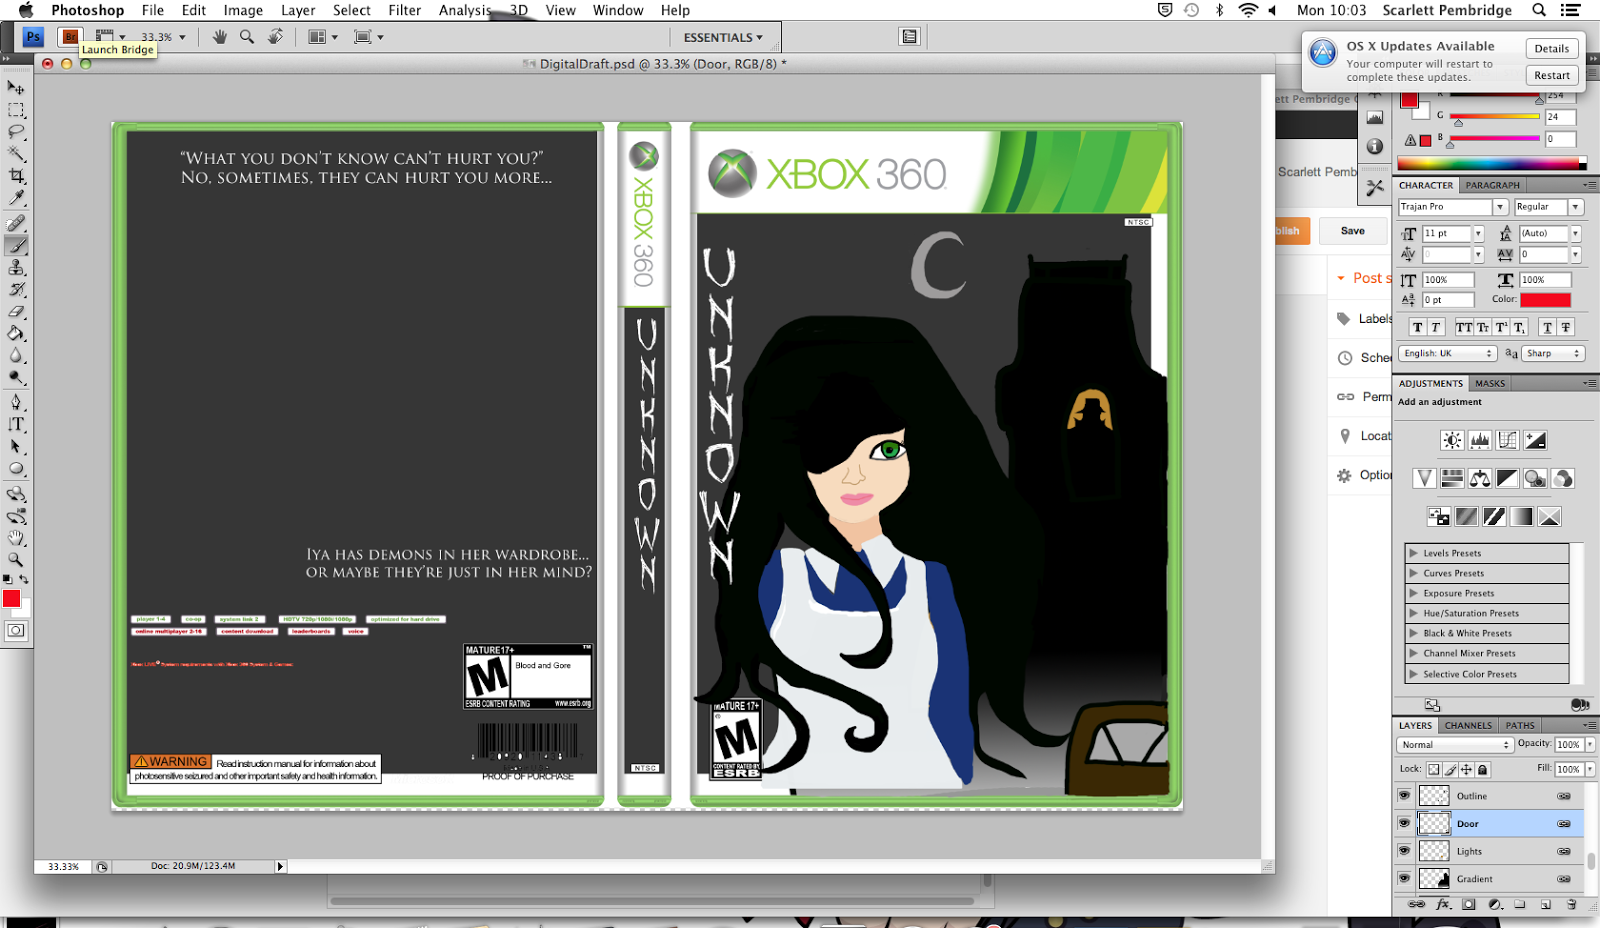
Work in progress shots

Firstly. I added a grey background and added the title "Unknown"
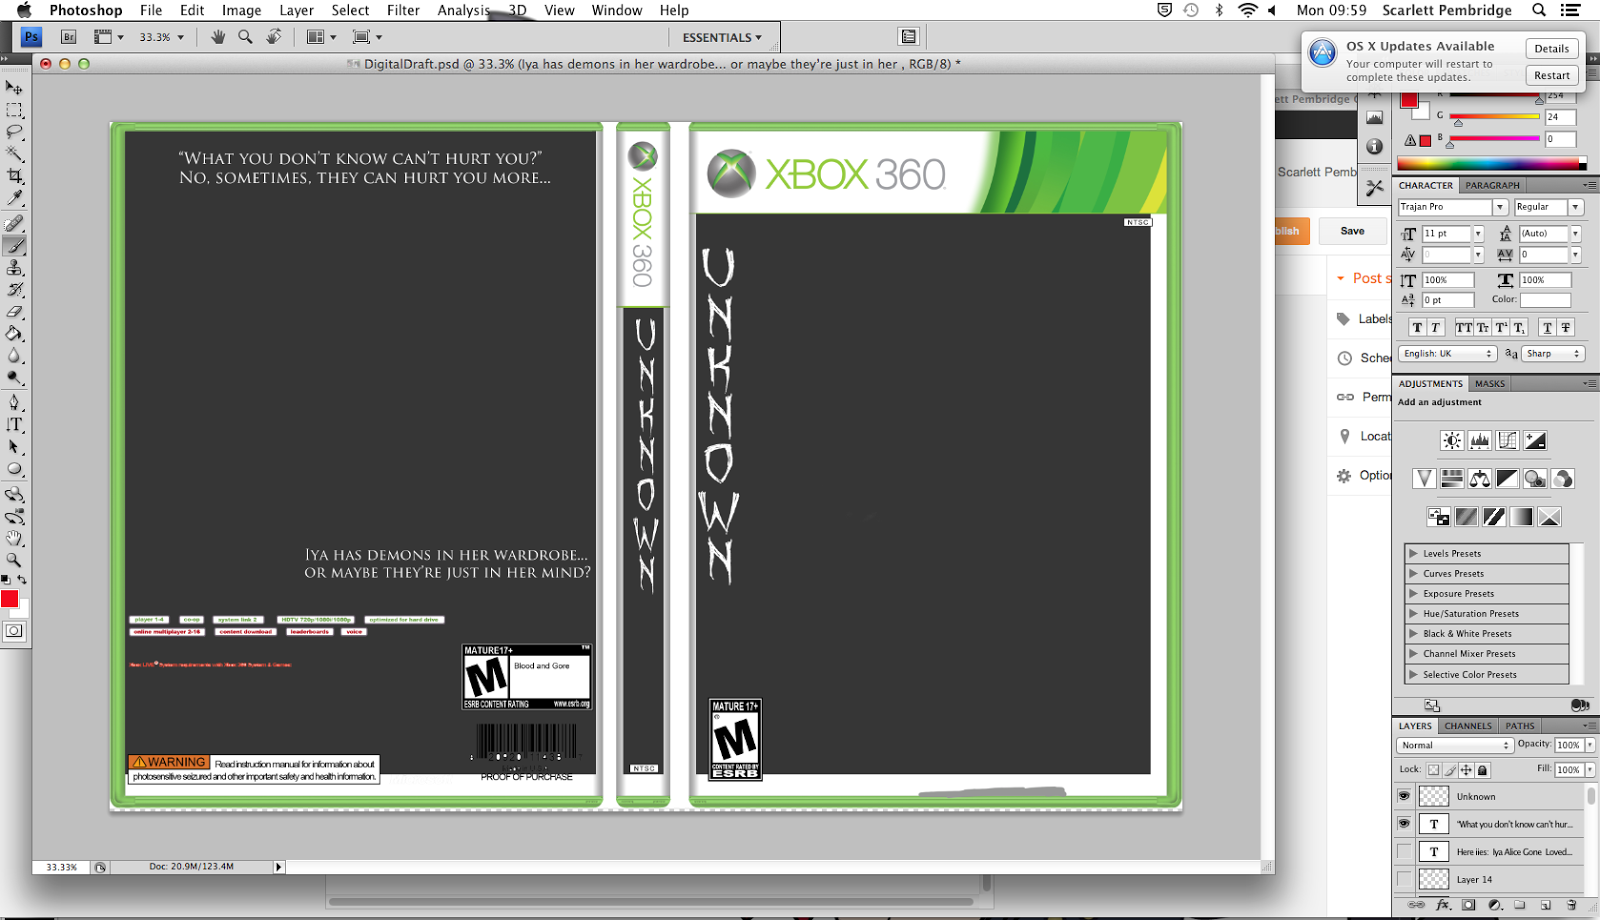
then I added in the text on the back of the game cover
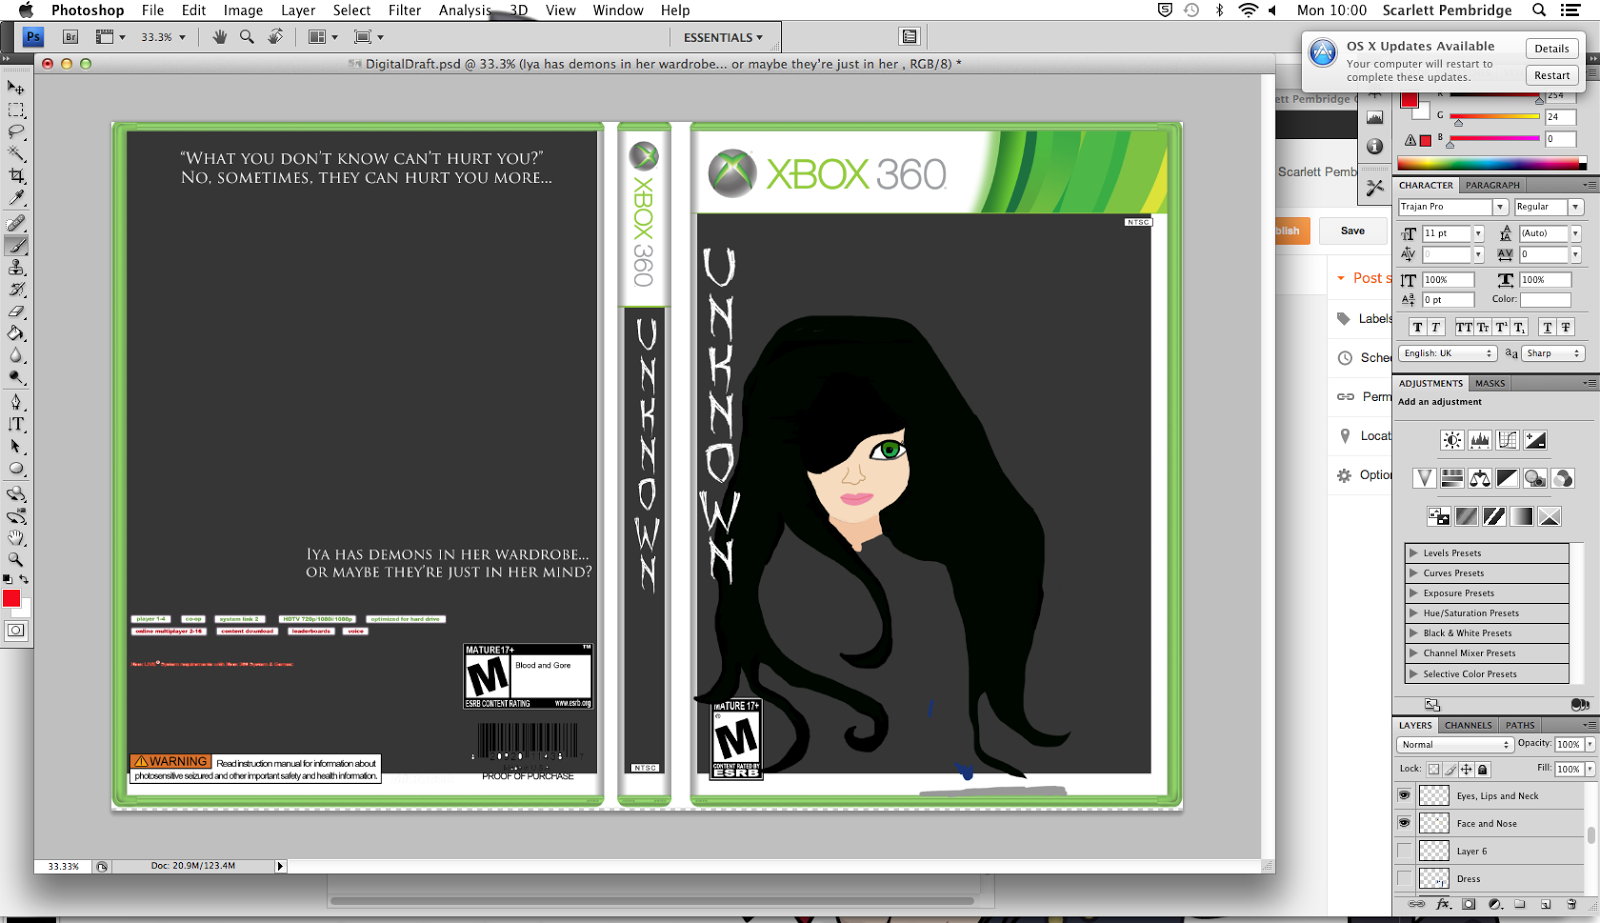
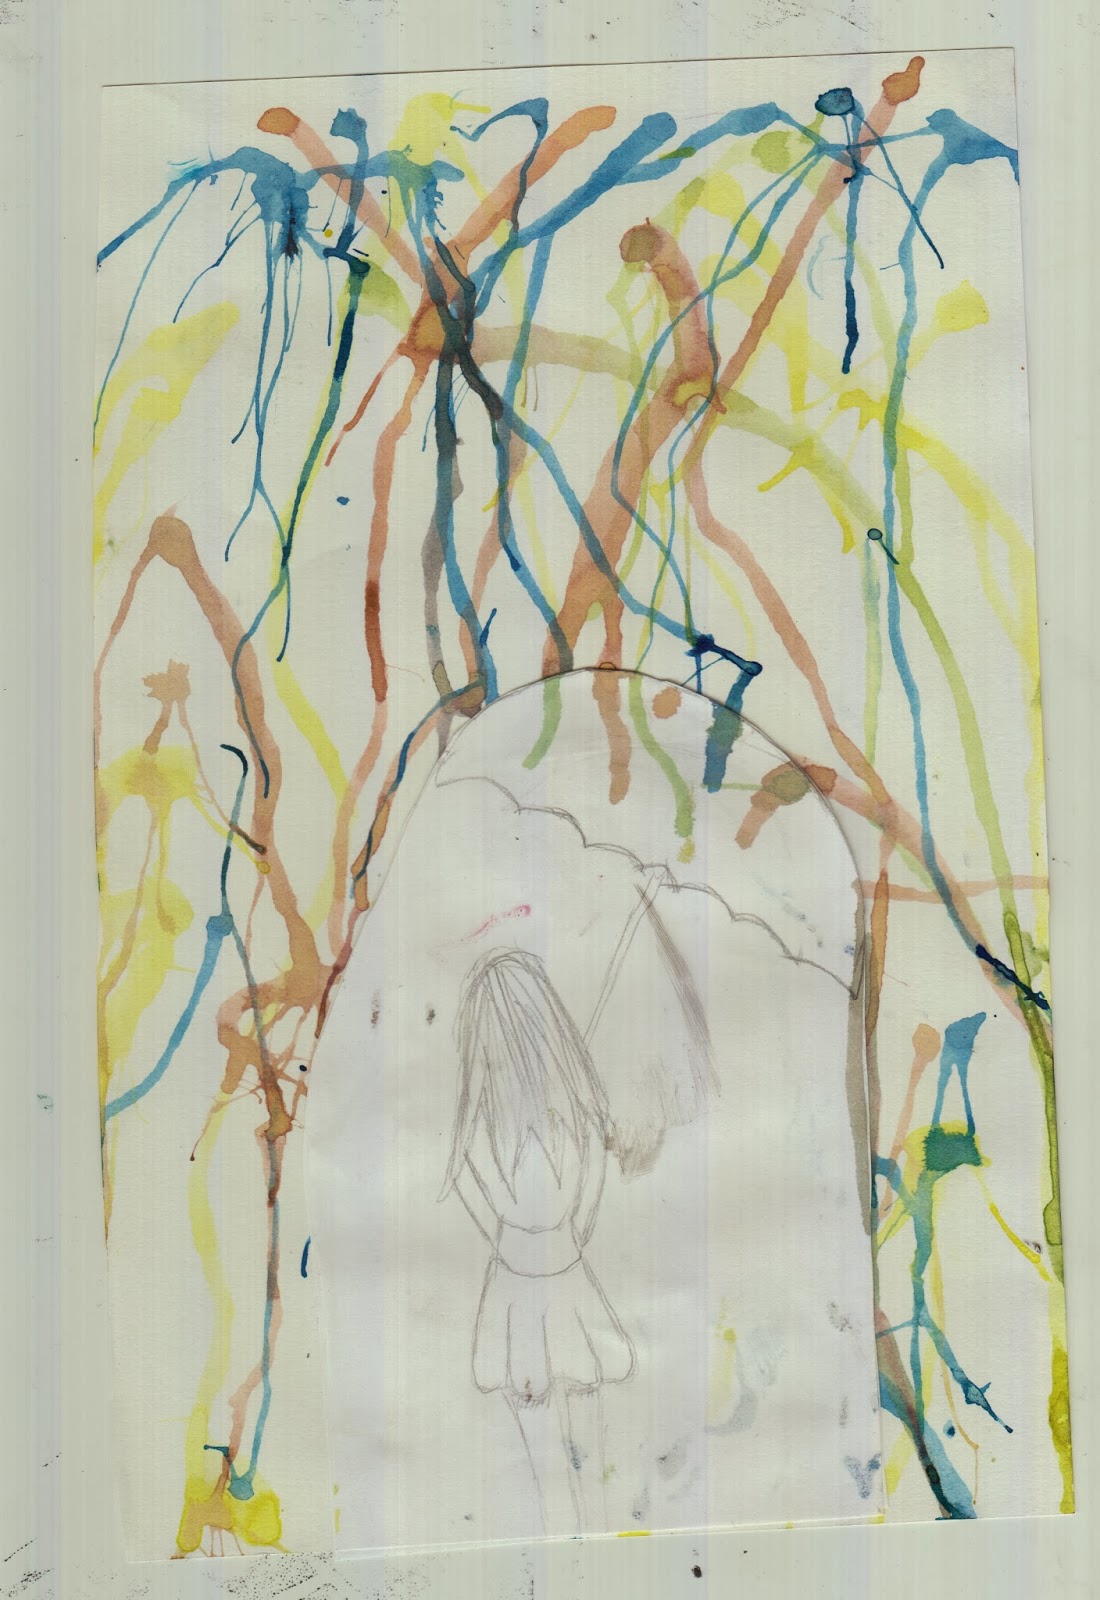
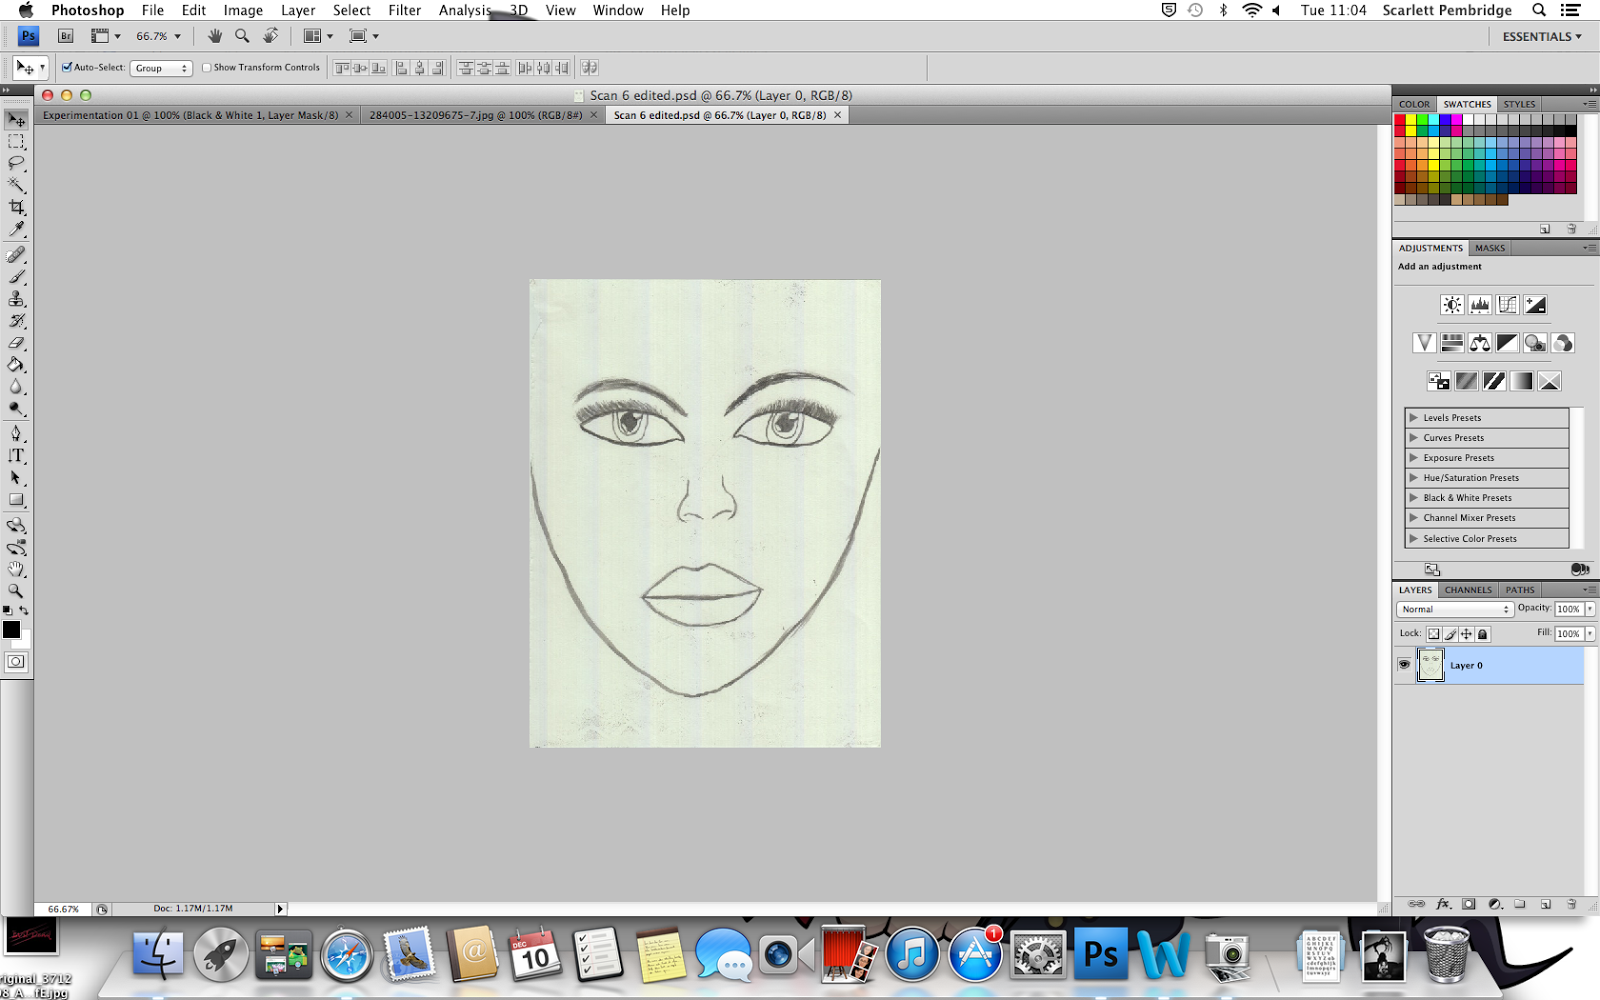
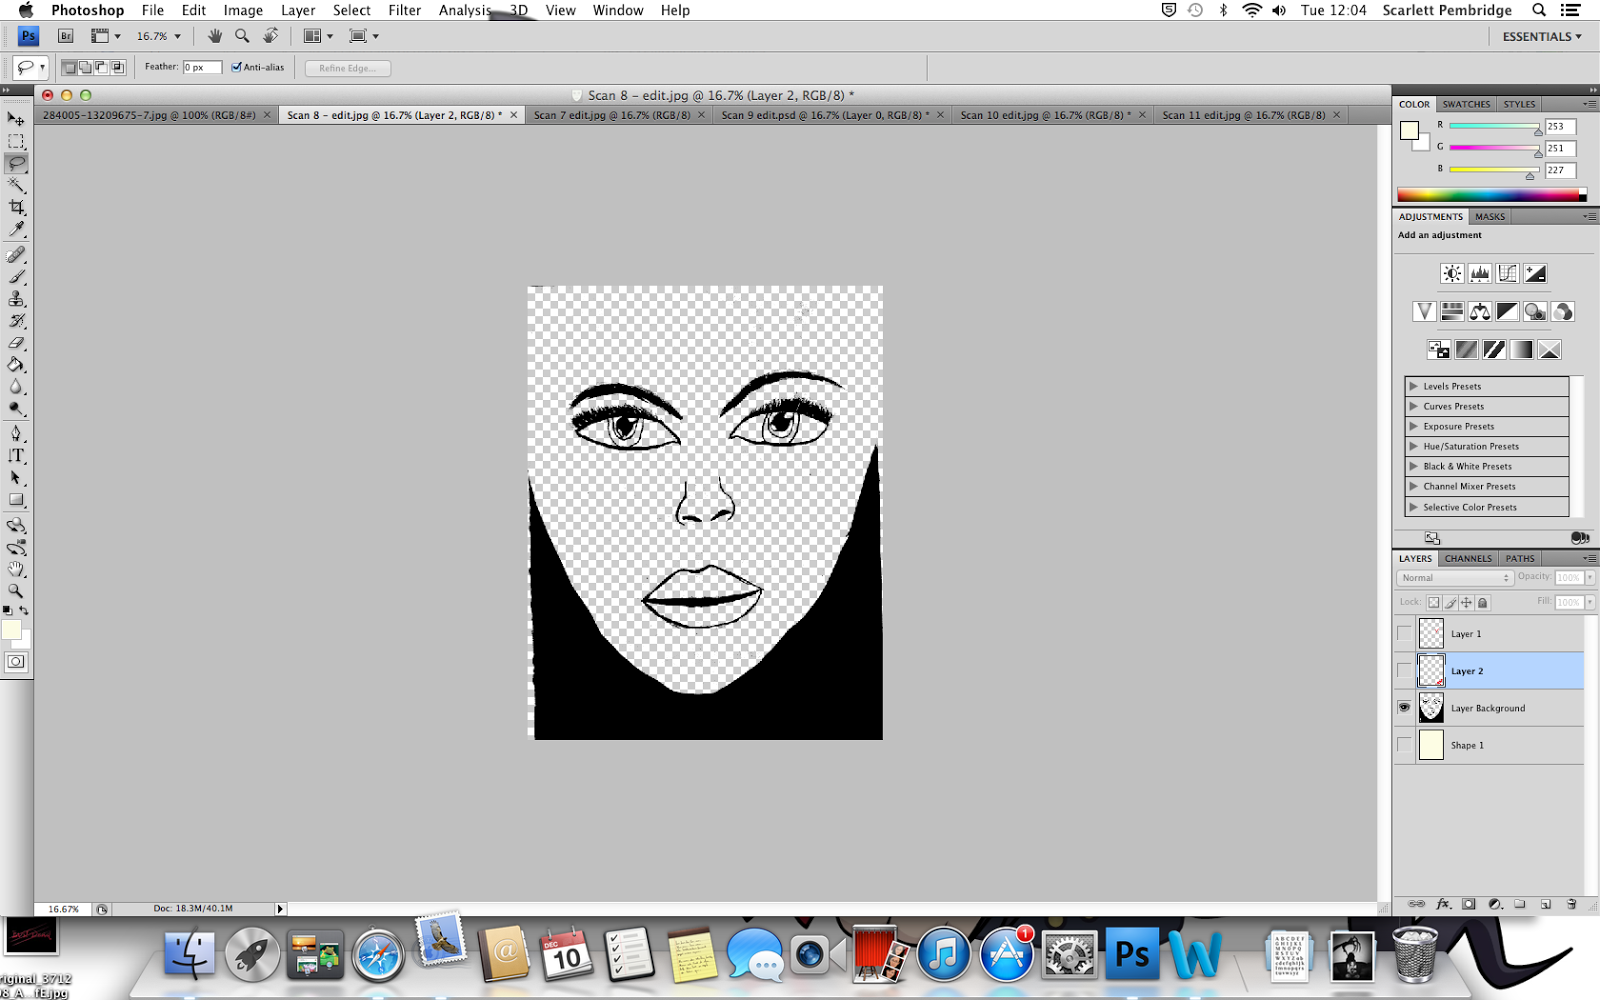
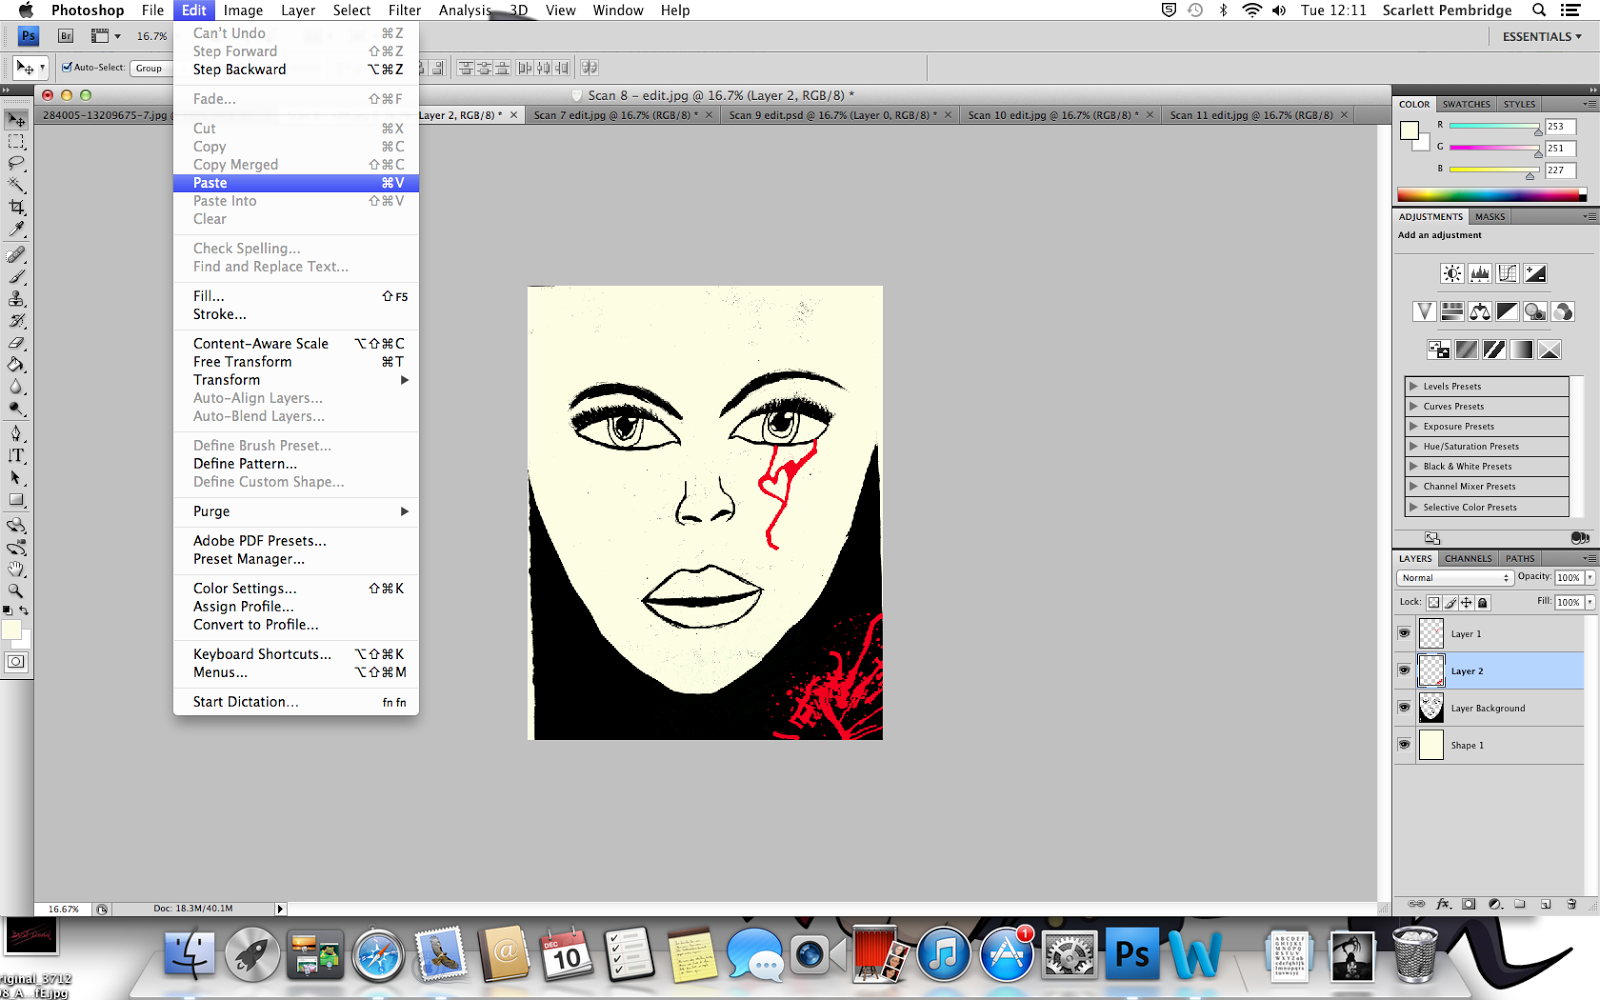
Secondly, I began to draw in my main character, starting with her head and hair
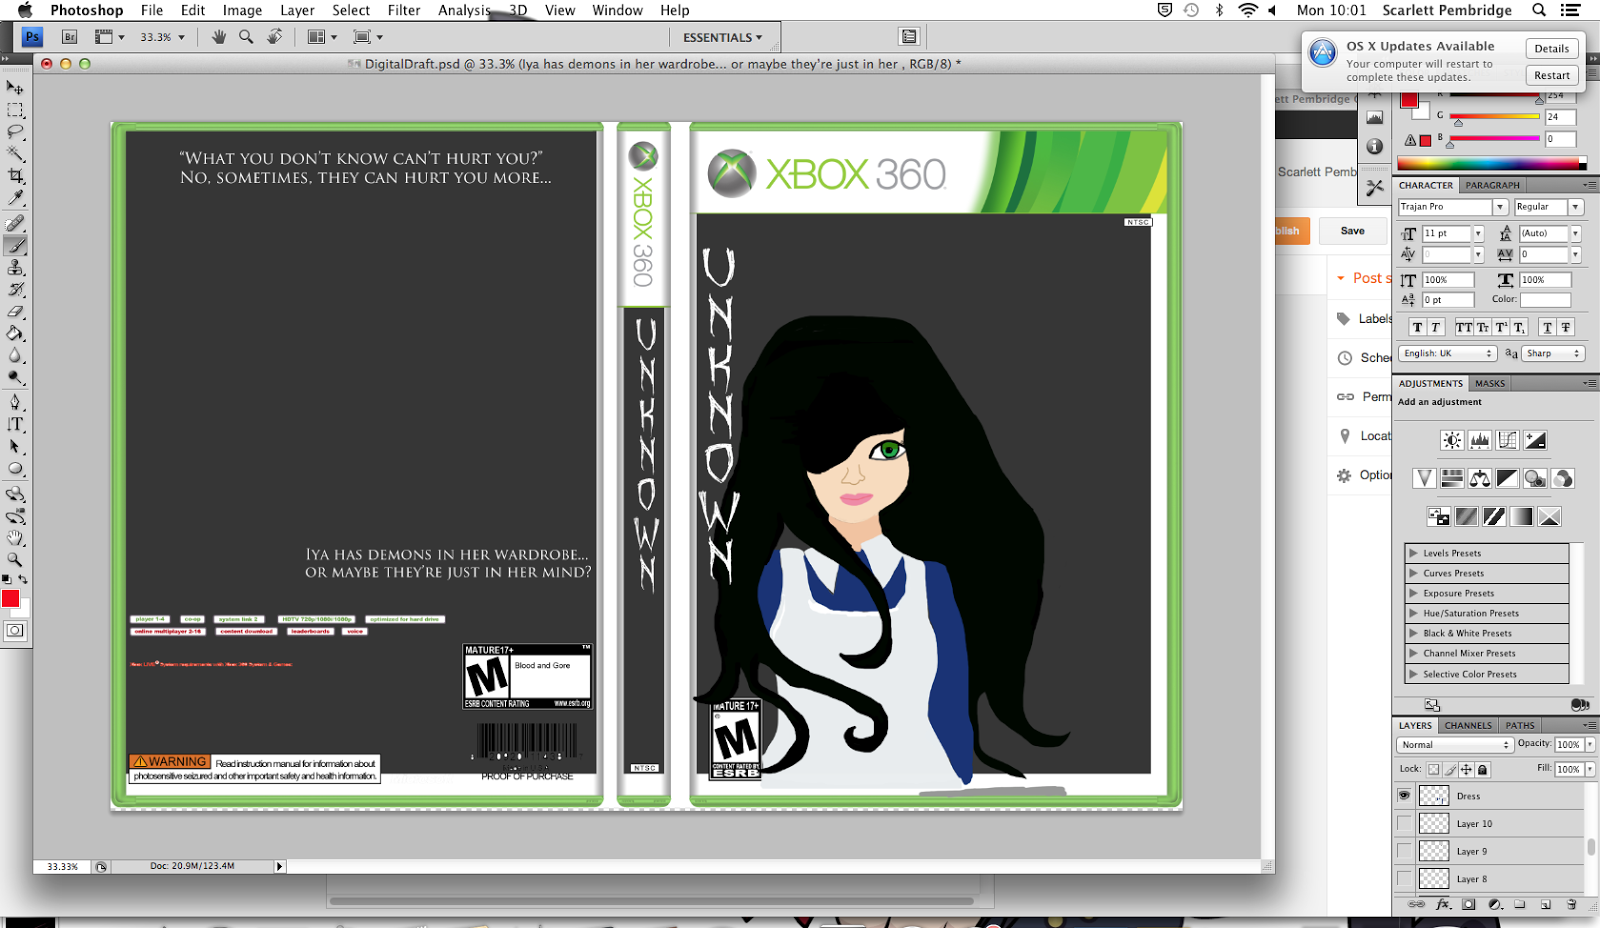
Then with her dress
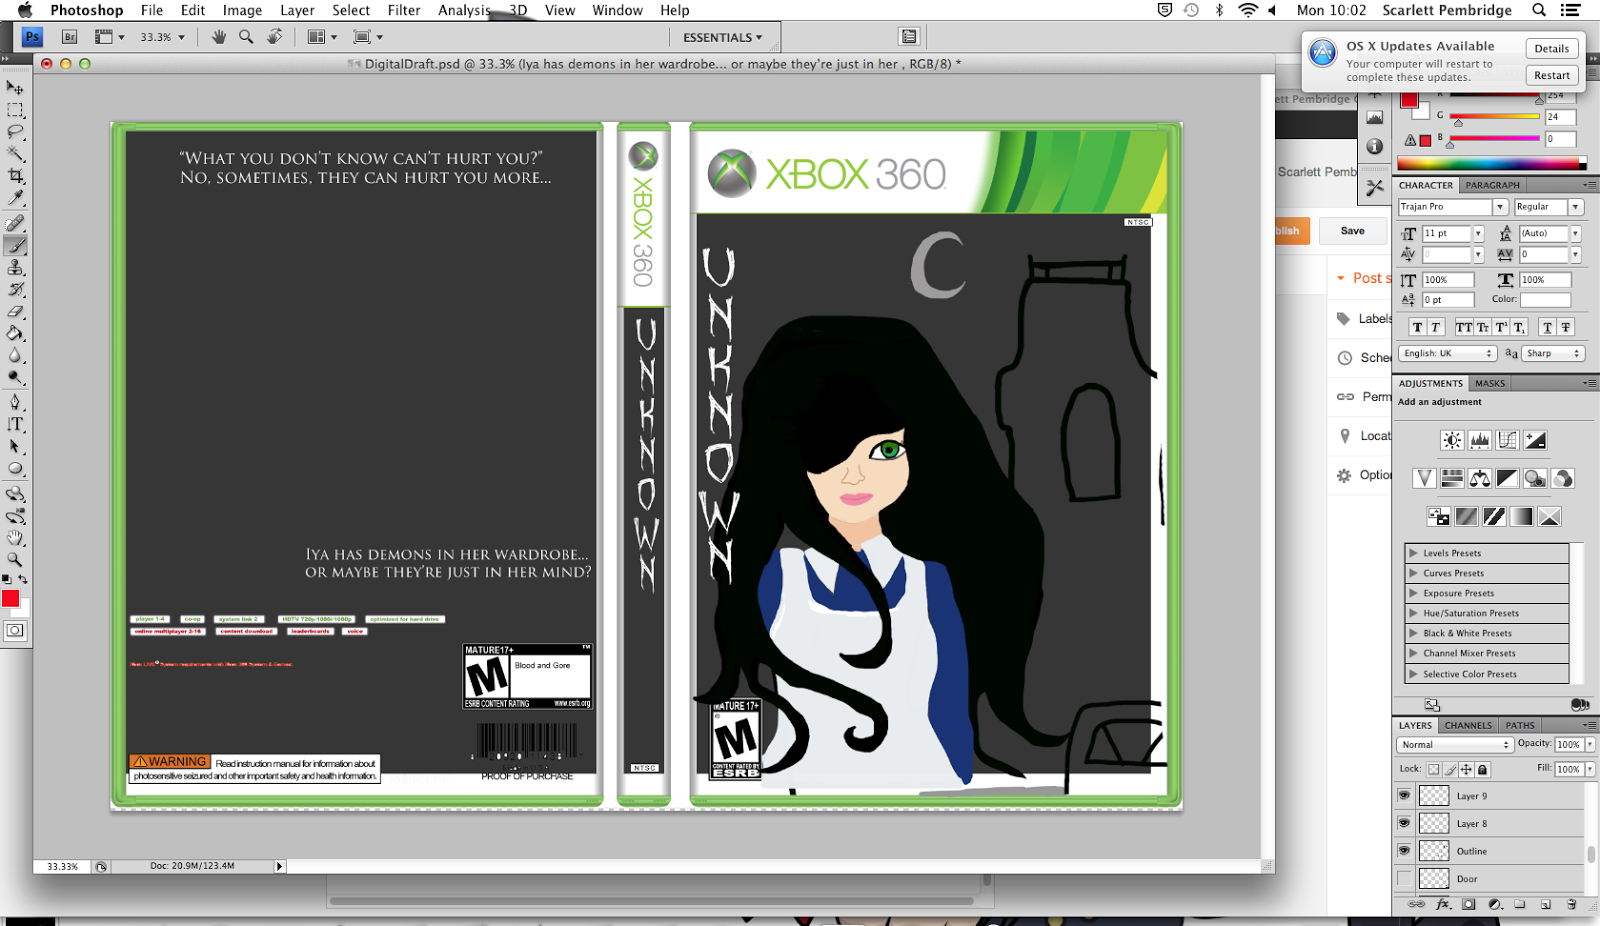
Thirdly, I added the outline to the house in the background and added a moon

Then I added a gradient to the outline, and then added an outline of the door
I added the light coming out of the window and a figure in that same window

Fourthly, I added clouds and added in-game images to the back, and filled in the door

I added more in-game images to the back

Finally, I completed the in-game images on the back and finished my game case...